
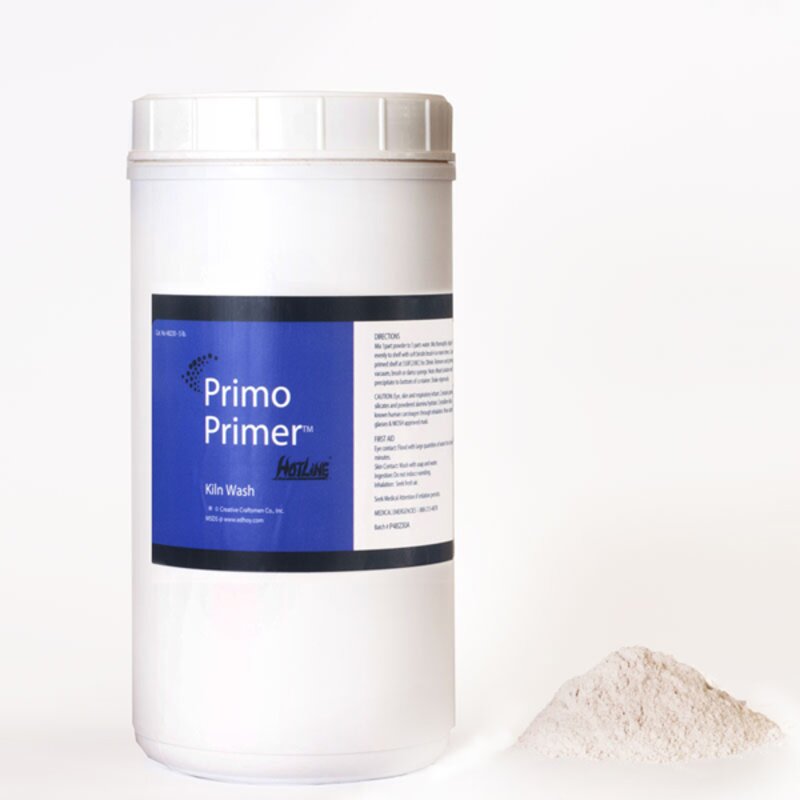
Working with glass in kilns requires a meticulous approach to ensure that each piece emerges flawless and pristine. One critical aspect of this process is the application of kiln wash. Kiln wash acts as a protective barrier between the glass and the kiln shelf, preventing unwanted fusing and sticking. Properly applying kiln wash can significantly impact the outcome of your glass projects, providing smooth and consistent results. This article delves into the techniques and considerations necessary for applying kiln wash effectively, enabling glass artists to achieve the best possible results.
Understanding Kiln Wash
Kiln wash is a refractory material applied to kiln shelves to prevent glass from fusing to the shelf during firing. The composition usually includes materials such as alumina hydrate and kaolin, which help withstand high temperatures. The effectiveness of kiln wash lies in its ability to create a stable, non-stick surface.
Preparation and Materials
Proper preparation is crucial in ensuring the kiln wash performs optimally. Here are the materials and tools needed for the application:
- High-quality kiln wash.
- Clean brush or roller for application.
- Water for mixing if using powdered kiln wash.
- Smooth, clean kiln shelf.
Before beginning, ensure that the kiln shelf is free from debris and previous residues. A clean surface enhances the adhesion of the kiln wash, providing a smoother application.
Application Techniques
Mixing the Kiln Wash
If using a powdered form, mix the kiln wash with water to achieve a creamy consistency. The mixture should be neither too thick nor too runny. Consistency is key for even application.
Applying the Kiln Wash
Use a brush or roller to apply the kiln wash evenly across the shelf surface. Here are some tips to ensure uniform coverage:
- Apply in thin, even coats. Multiple layers are more effective than a single thick layer.
- Allow each layer to dry completely before applying the next. This prevents cracking and peeling.
- Typically, three to four layers are recommended for optimal protection.
For more detailed guidance on application techniques, discover expert strategies here.
Drying and Firing
Once the kiln wash is applied, it’s vital to ensure it is fully dry before firing the kiln. This can typically take several hours, depending on the environment. Speeding up the drying process with heat is not recommended as it can cause cracking.
Before placing glass on the kiln shelf, a test firing can be performed to cure the kiln wash. This step helps to set the wash and remove any residual moisture. Learn about our tailored solutions for ensuring proper kiln wash curing.
Maintenance and Reapplication
Kiln wash should be reapplied as needed, depending on the frequency of kiln use and the type of projects being fired. Regular inspection of the kiln shelf after each firing is advisable to determine if reapplication is necessary. Signs that reapplication may be required include:
- Visible wear or cracking in the kiln wash layer.
- Glass sticking or fusing to the shelf.
- Discoloration or uneven surface.
For more insights on maintaining kiln wash integrity, explore advanced guides and tips.
Conclusion
Applying kiln wash is a fundamental procedure for any glass artist aiming for perfection in their kiln-fired pieces. By following the correct preparation, application, and maintenance techniques, the risk of glass sticking and other kiln-related issues can be minimized. Proper kiln wash use not only extends the life of the kiln shelf but also enhances the quality of finished glass pieces. Find out more about this approach to ensure your glass art projects achieve the desired outcomes.
