
Stamped concrete has become a popular choice for homeowners and businesses seeking a cost-effective, versatile, and aesthetically pleasing alternative to traditional paving materials. With its ability to mimic the appearance of stone, brick, slate, and even wood, stamped concrete offers a range of design possibilities that can complement any outdoor space. Whether enhancing a driveway, patio, or pool deck, understanding the installation process is essential to achieving a durable and visually appealing result. This guide provides comprehensive insights into the steps involved in installing stamped concrete, ensuring a long-lasting finish that enhances property value and curb appeal.
Preparation and Planning
Site Assessment
Before beginning the installation of stamped concrete, a thorough site assessment is crucial. This step includes evaluating the area for any potential drainage issues, existing structures, and soil stability. Proper site preparation ensures that the concrete will not crack or shift over time. It’s important to address these elements early to avoid costly repairs down the line. Discover expert strategies here.
Design Considerations
Choosing the right pattern and color is key to a successful stamped concrete installation. Consider the surrounding landscape, architectural style, and personal preferences when selecting a design. Popular patterns include cobblestone, brick, and slate, while colors range from natural earth tones to more vibrant hues. Learn about our tailored solutions.
Installation Process
Subgrade Preparation
The subgrade is the foundation of the stamped concrete surface. Proper preparation involves:
- Excavating the area to the required depth.
- Compacting the soil to ensure stability.
- Adding a layer of crushed stone or gravel for drainage and support.
These steps ensure a stable base, reducing the risk of settling and cracking.
Formwork and Reinforcement
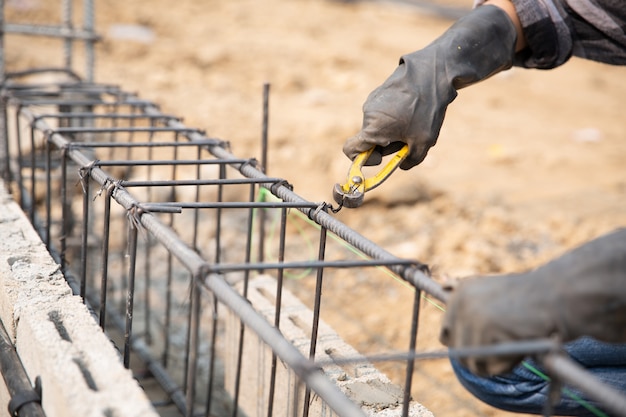
Creating a formwork is essential to define the area where the concrete will be poured. This involves setting up wooden or metal frames to hold the concrete in place. Reinforcement materials, such as rebar or wire mesh, are then laid within the form to enhance the concrete’s tensile strength and prevent cracking. Explore advanced guides and tips.
Pouring and Stamping
The concrete is poured into the formwork and spread evenly using specialized tools. Once the surface is leveled, the stamping process begins. This involves pressing the chosen pattern into the concrete using stamps, which can be made of polyurethane or metal. Timing is crucial, as the concrete must be firm enough to hold the pattern but still malleable for stamping.
Finishing and Curing
Coloring and Sealing
The coloring process can be done in two ways: integral coloring (mixing color into the concrete) or surface coloring (applying color hardeners). Sealing the concrete is the final step, providing a protective layer that enhances the color and texture while resisting stains and weather damage. Find out more about this approach.
Curing Time
Proper curing is essential for the strength and durability of stamped concrete. The surface should be kept moist and protected from direct sunlight and extreme temperatures for at least 48 hours. This process can take from a few days to a week, depending on weather conditions and the specific mix used.
Maintenance and Care
Maintaining stamped concrete involves regular cleaning to remove dirt and debris. Sealing the surface every few years helps maintain its appearance and protect it from wear. Avoid using harsh chemicals or de-icing salts, which can damage the surface over time. With proper care, stamped concrete can last for many years, retaining its beauty and functionality.
Stamped concrete offers a durable and attractive solution for enhancing outdoor spaces. By following the installation and maintenance guidelines, property owners can enjoy a beautiful and long-lasting surface that adds value and aesthetic appeal to their homes or businesses.
